What is IML?
How in-mould labelling works: cycle steps, side and top entry, glossary and frequently asked questions.
The cycle: mould opens, robot enters, label seats
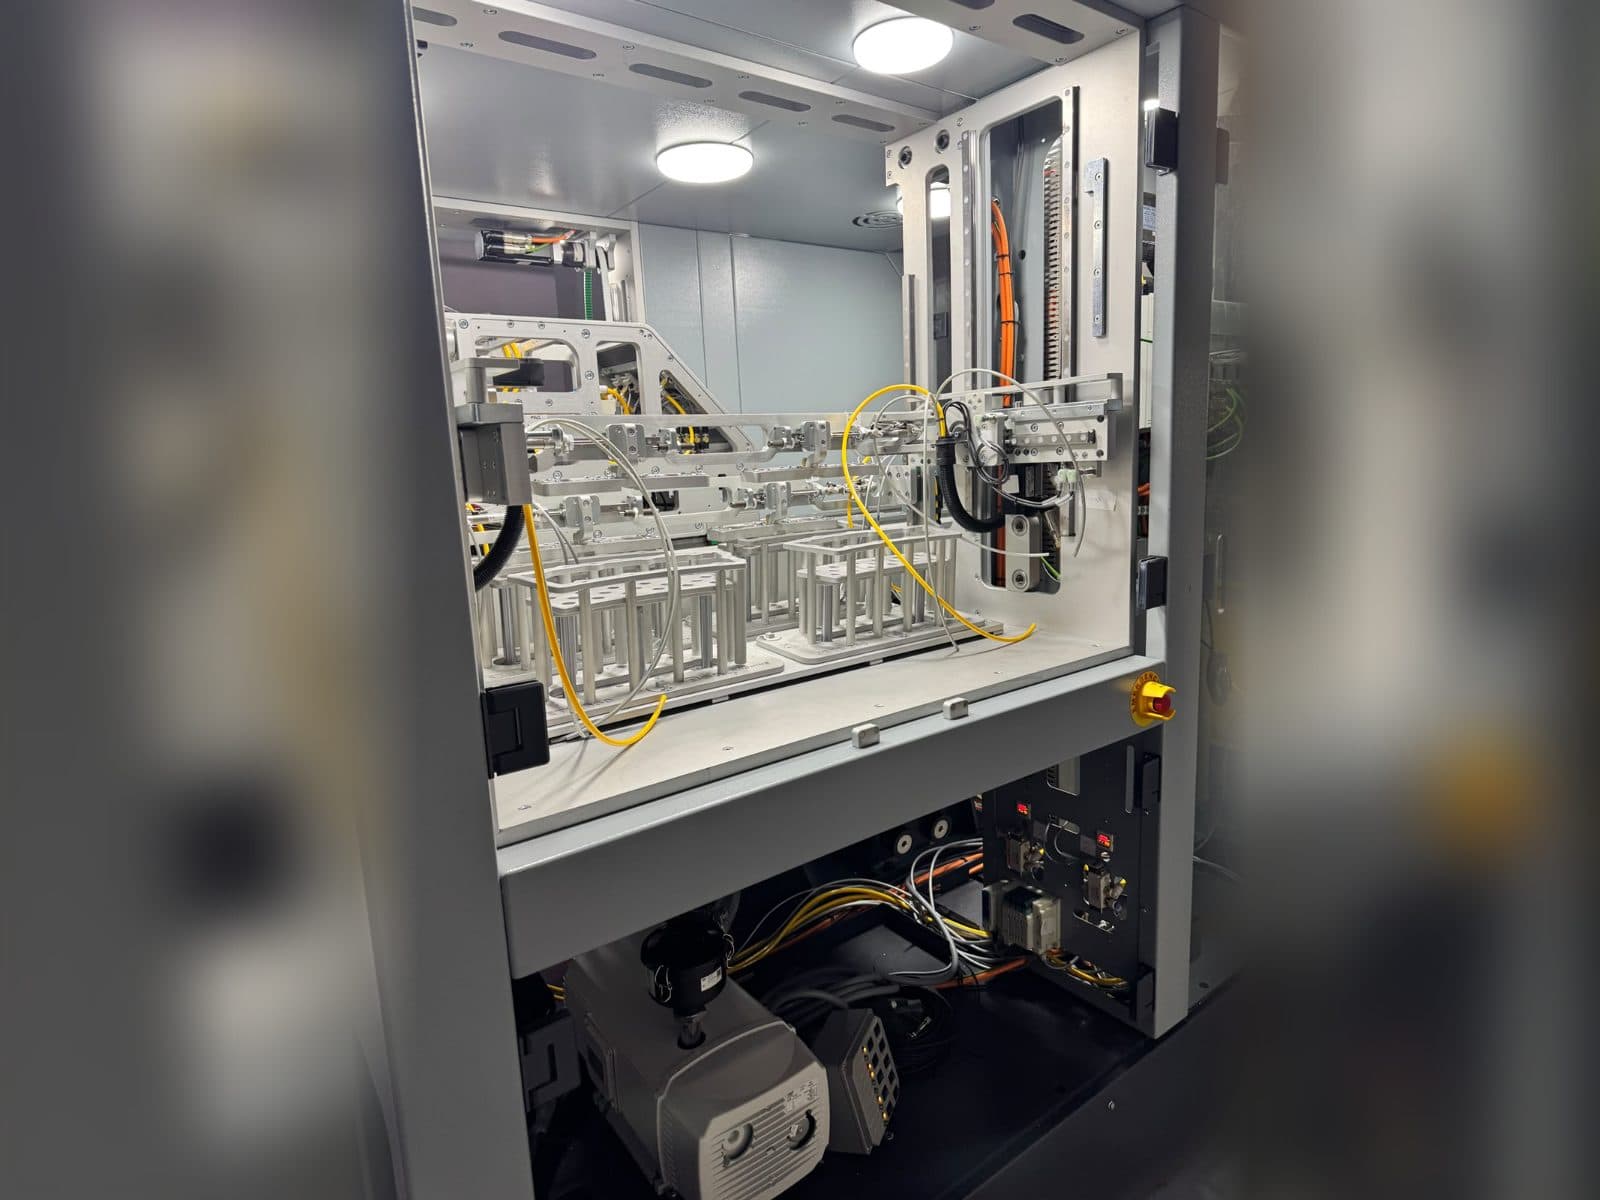
Pick labels
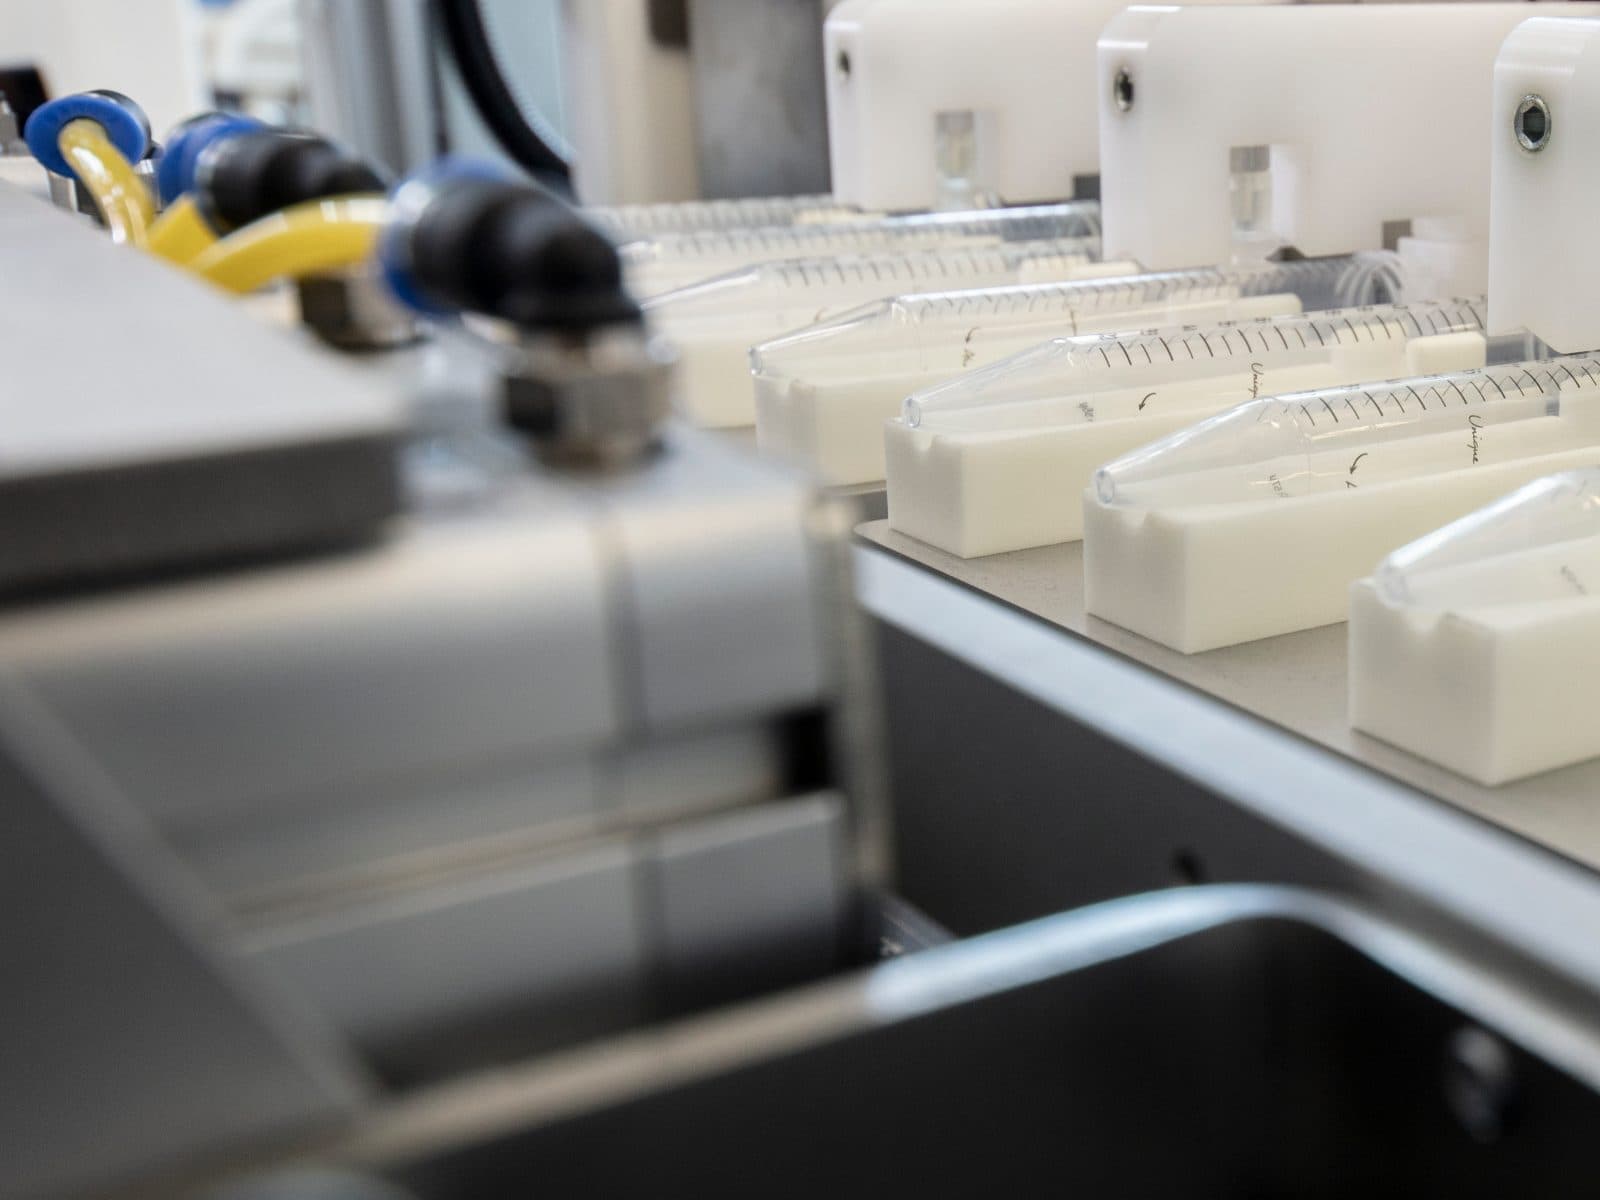
Labels are picked from the magazine by vacuum; a separate cassette per cavity.
0.4 s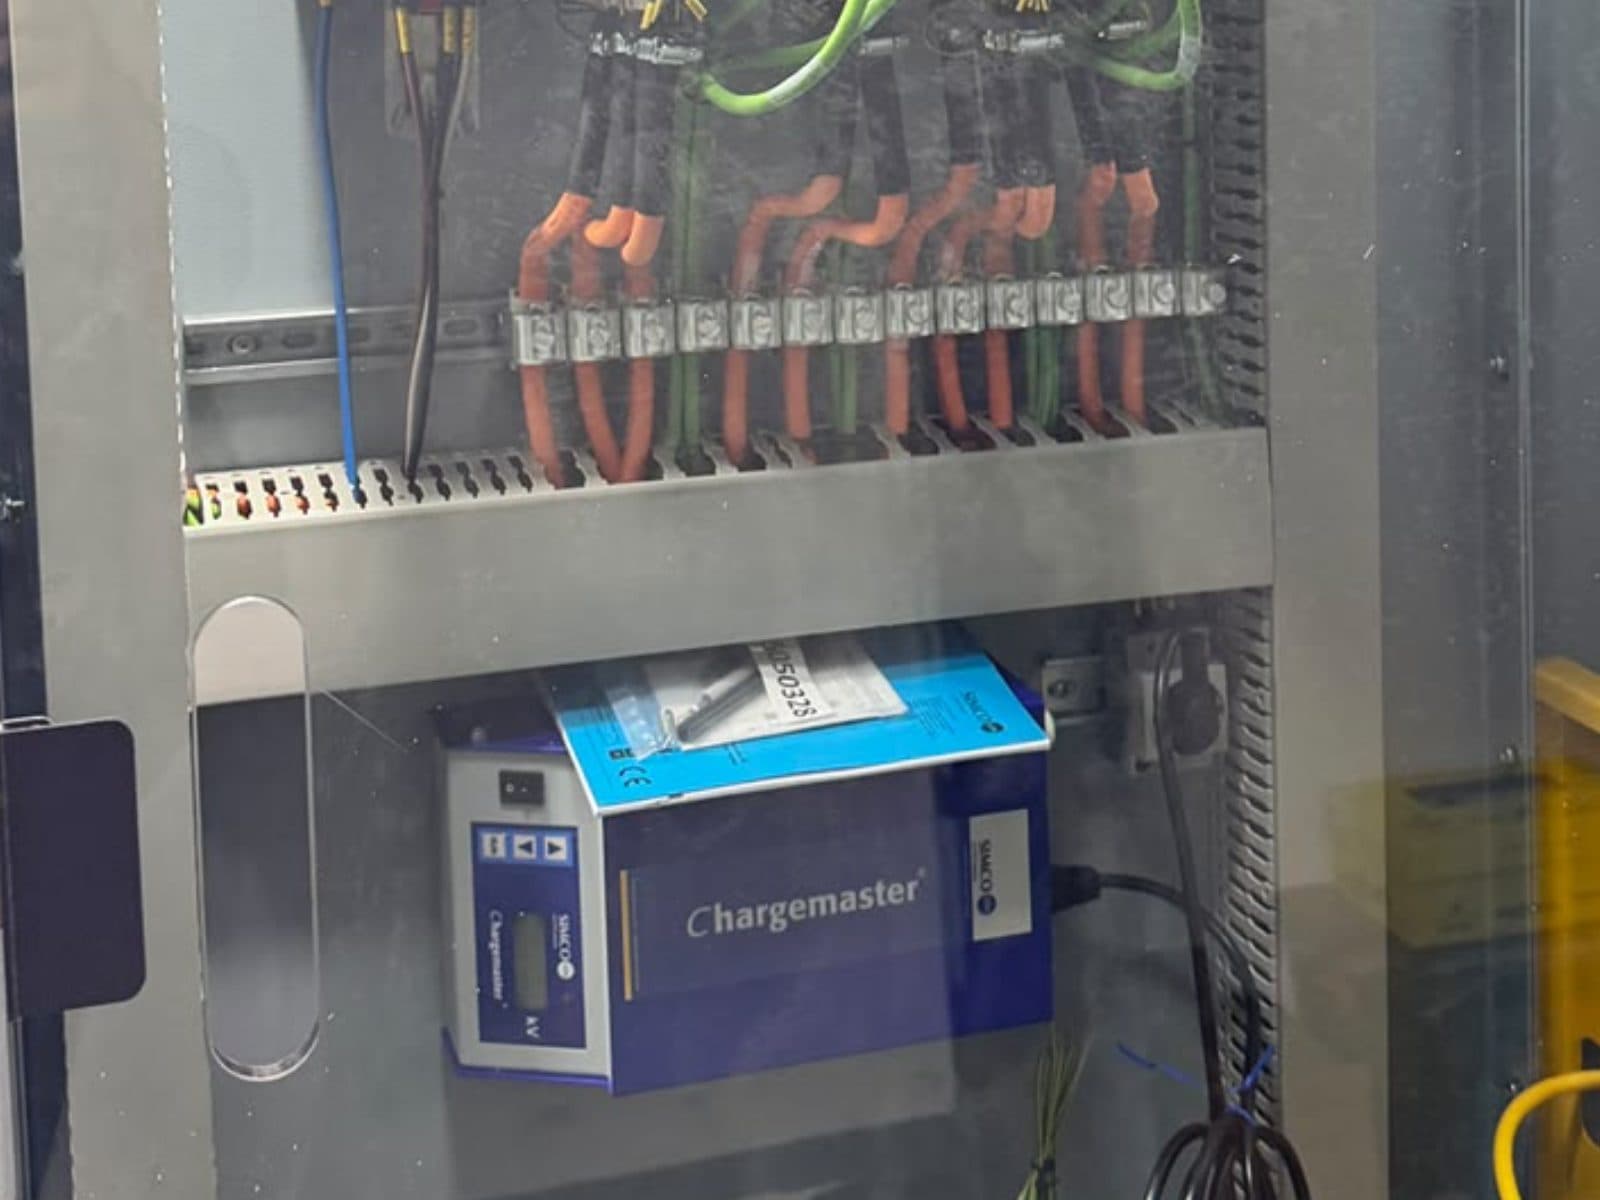
Electrostatic charging
The Simco-Ion generator charges the label so it stays in place in the mould.
0.3 s
Enter the mould
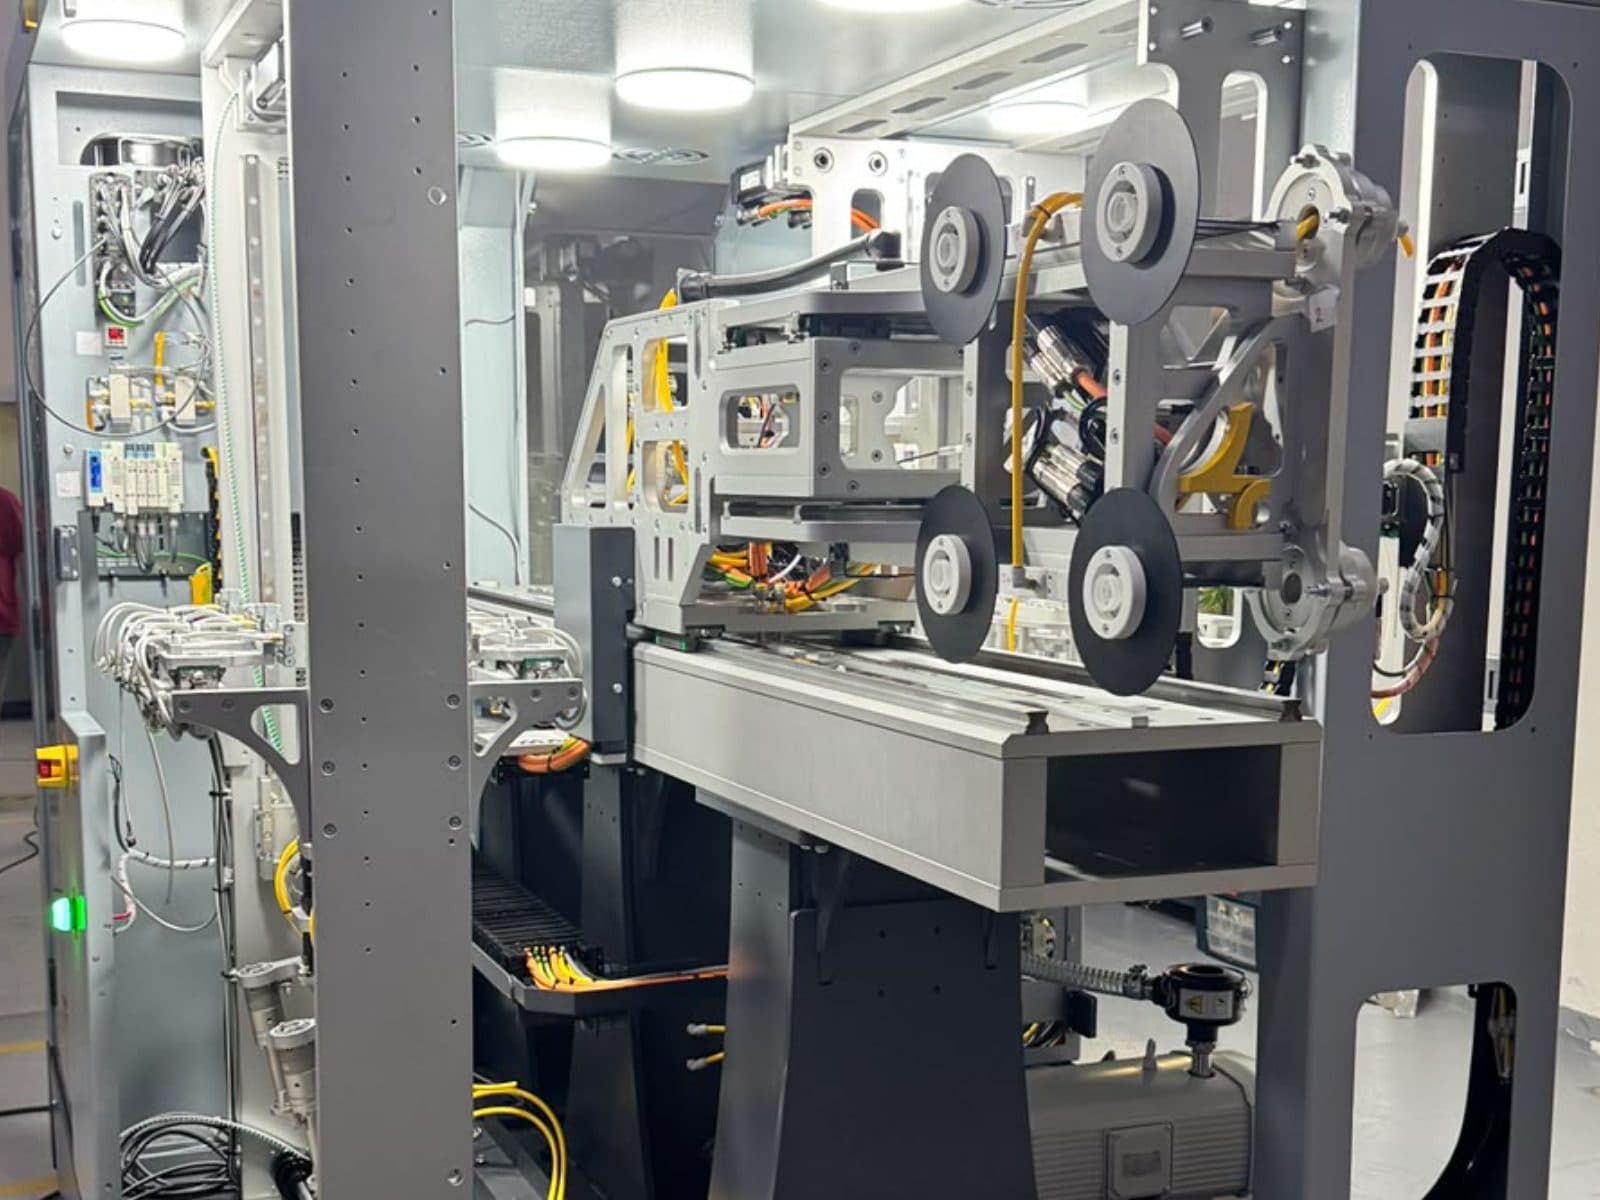
The servo main axis enters the mould gap from the side; mould intervention under one second.
0.3 s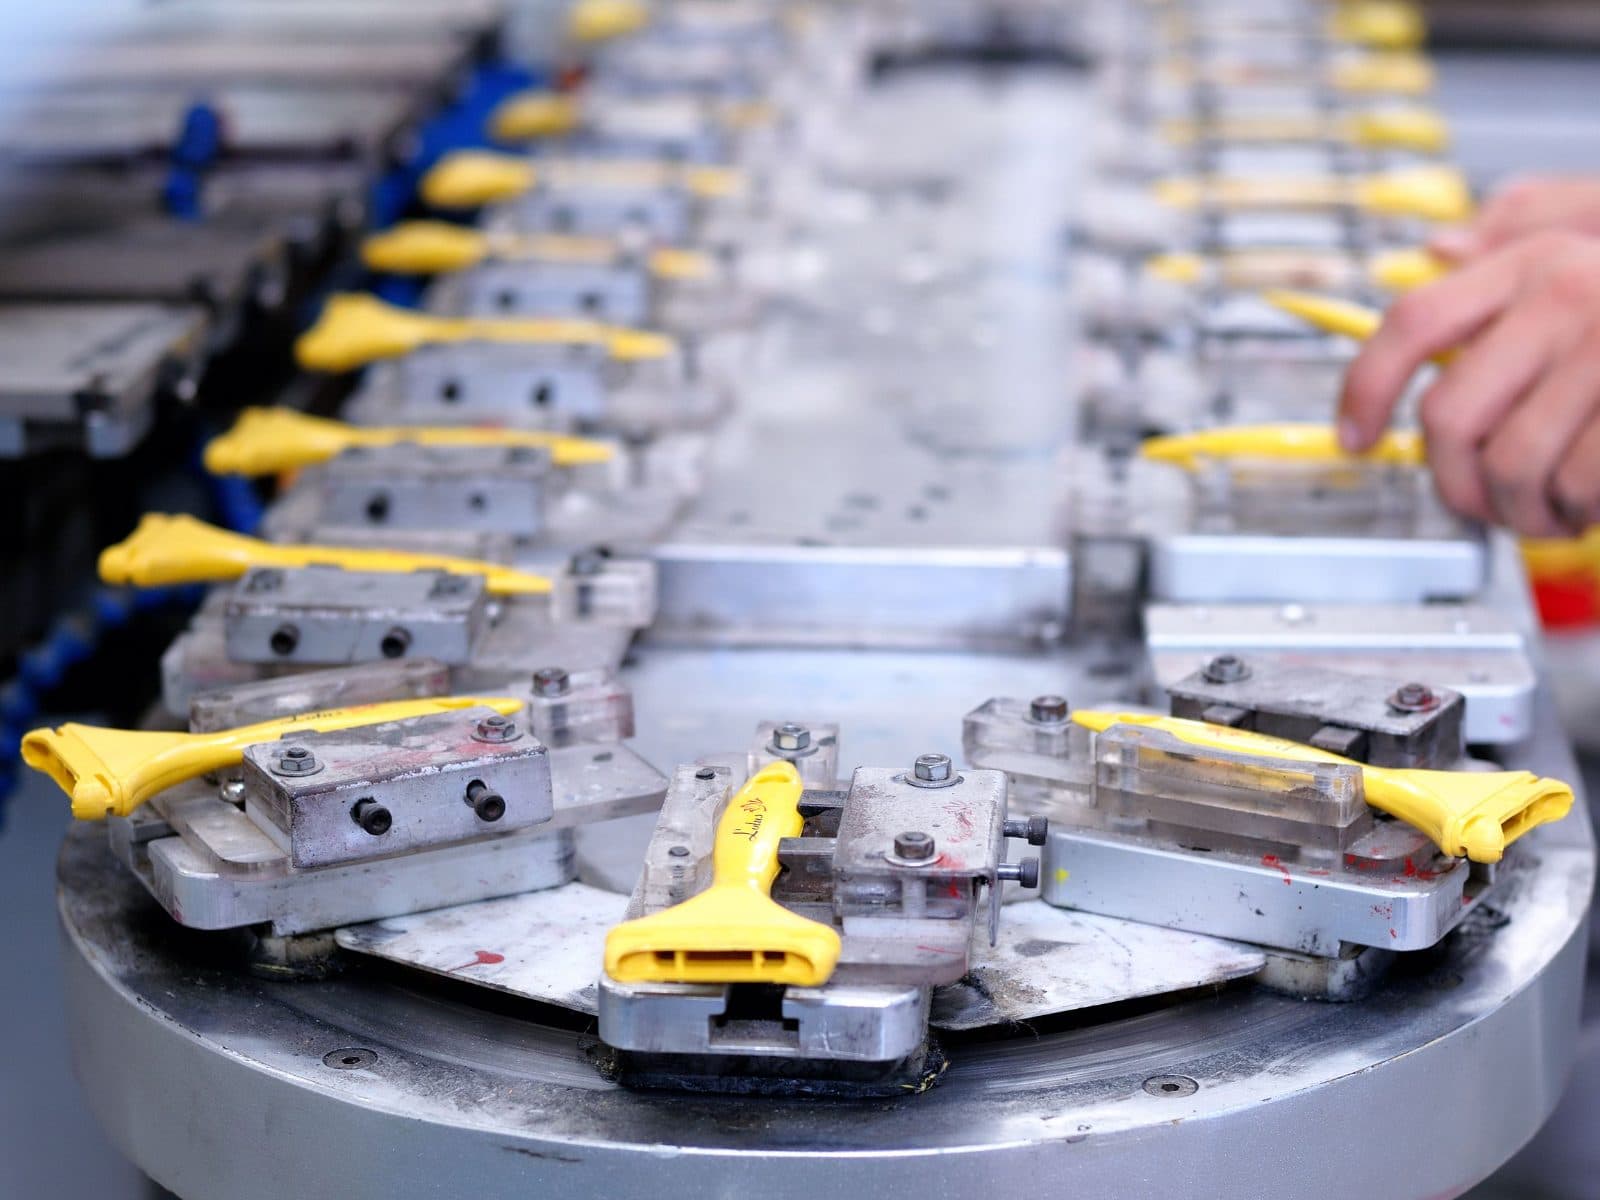
Take parts
Parts are taken from the core side by vacuum grippers.
0.3 s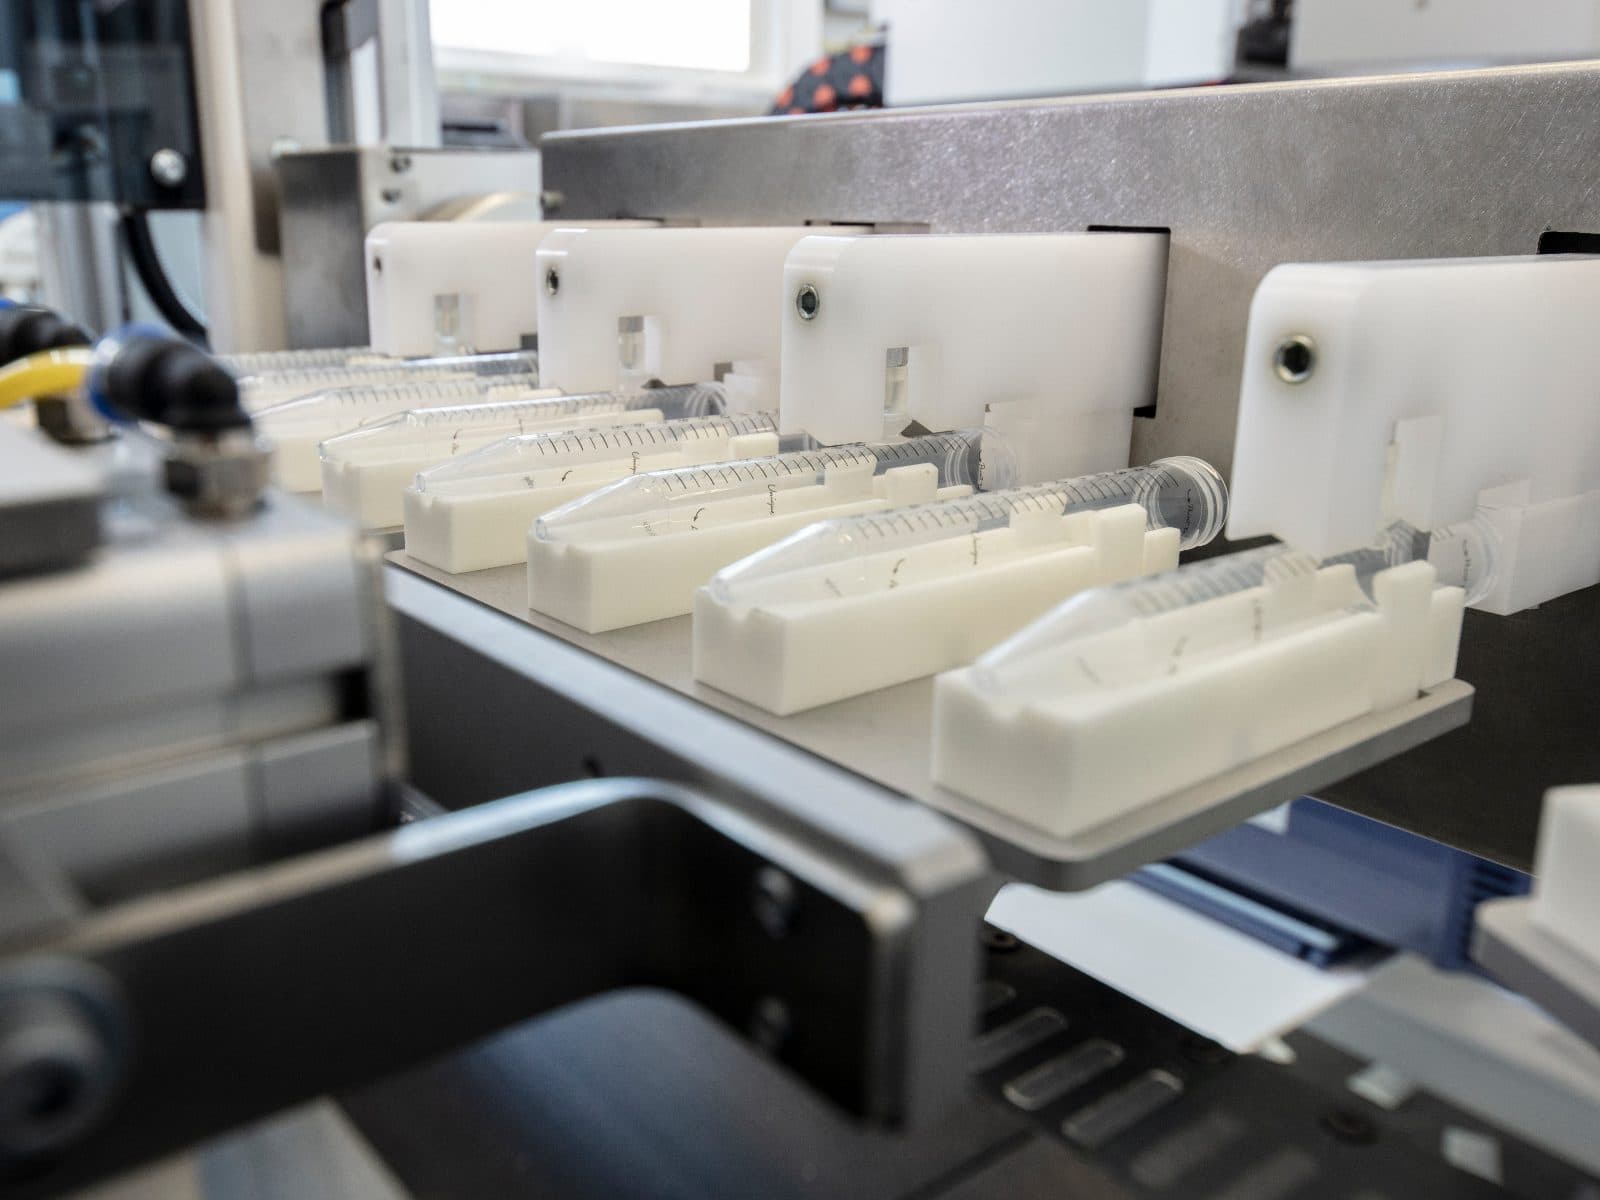
Place labels
Labels are placed into the cavity side; the arm exits and the mould closes.
0.3 s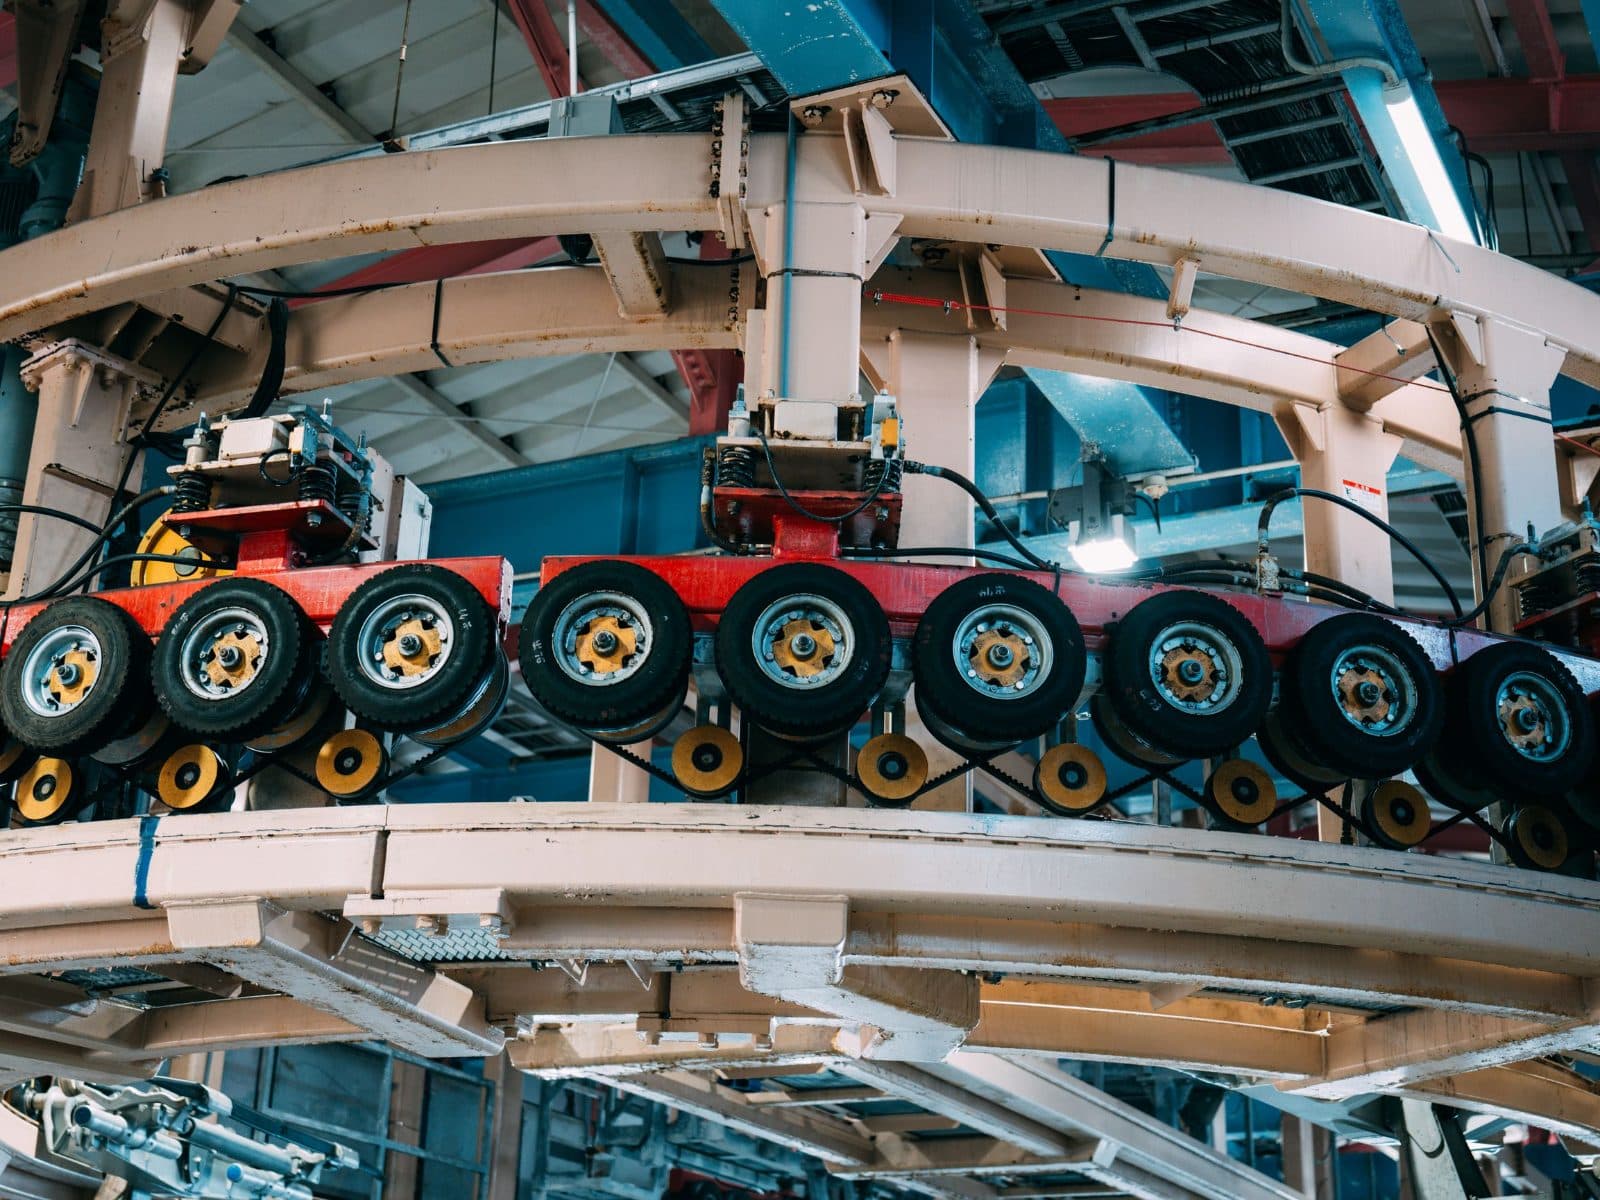
Stack
Parts are placed on the conveyor, counted and stacked.
0.6 s
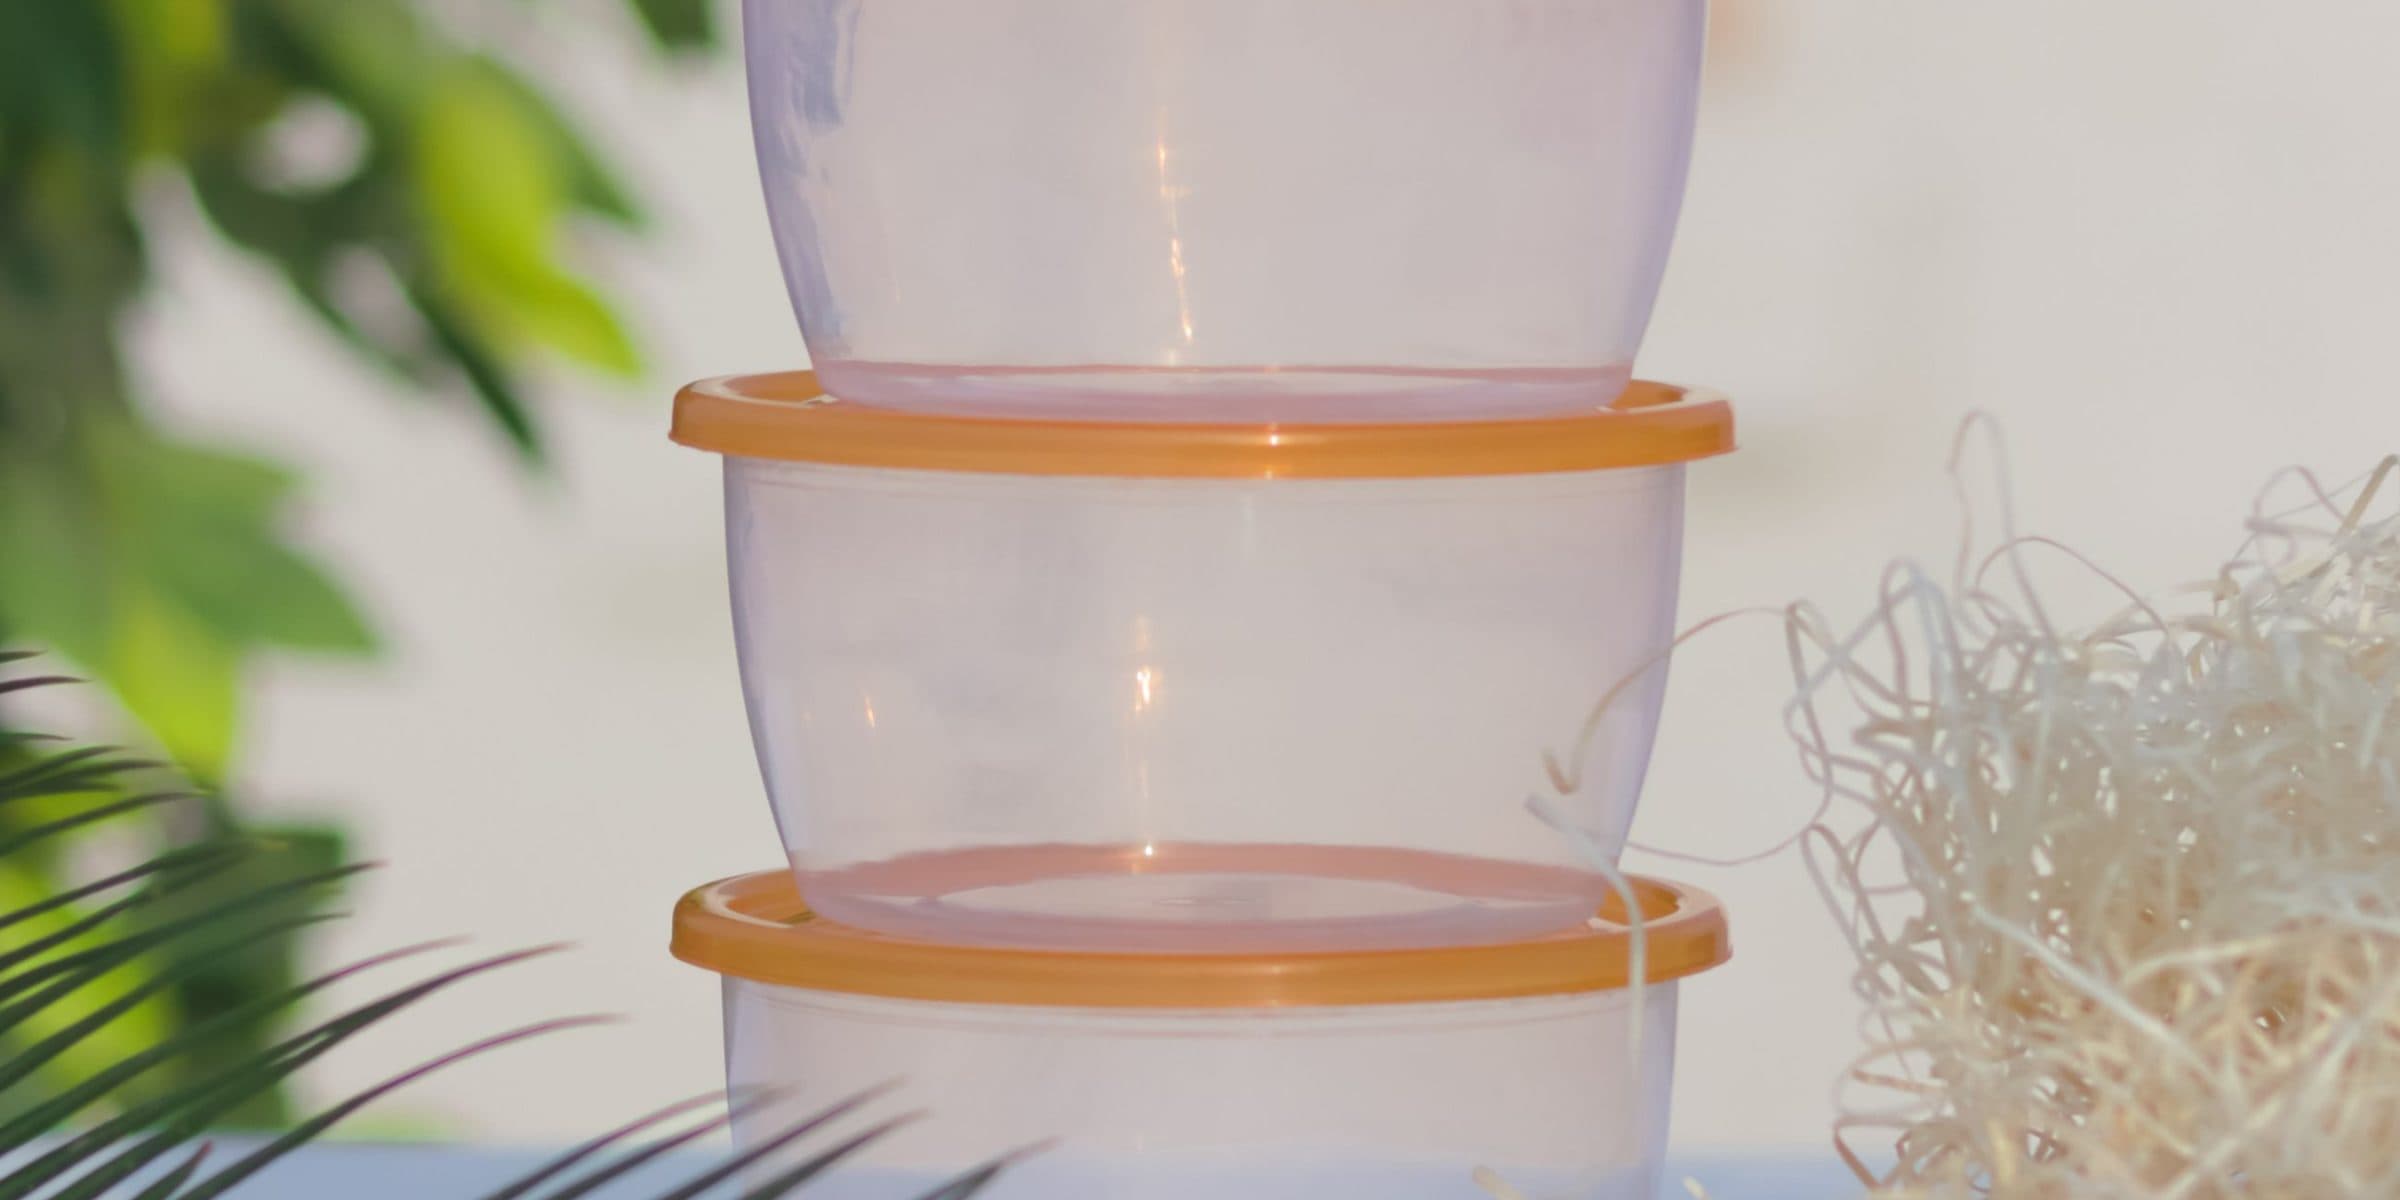
A plain container versus an IML container
Drag the slider. The same container with a label applied in the mould.
Yoghurt tub
 BeforeAfter
Drag to compare
No separate printing line is needed; the label becomes part of the container.
Lid
 BeforeAfter
Drag to compare
The top label is applied in the mould and resists scratching.
How is an IML line set up?
- 01
Product and label
Container geometry and label format are defined.
- 02
Mould
Cavity count, cooling and label pocket design.
- 03
Injection machine
Tonnage, mould daylight, Euromap 67.
- 04
Robot
Side entry, EOAT and magazine selection.
- 05
Static charging
Profile according to label material.
- 06
Vision
Label presence and position check.
- 07
Downstream
Conveyor, stacking, boxing.
- 08
FAT / SAT
Acceptance tests and training.
Side entry or top entry?
| Side entry | Top entry | |
|---|---|---|
| Mould intervention time | 0.8–1.0 s | 1.4–2.0 s |
| No ceiling height needed | ||
| Floor space beside machine | 3–6 m² | 0 m² |
| Take-out + placement in one entry | ||
| High cavity counts (12–16) | Limited | |
| Stack mould (SE-Twin) | ||
| Typical application | Thin-wall containers, lids, pails | Technical parts, low cavity |
How much will your line produce?
Enter cavities and cycle time to see parts per hour, month and year. Carry the result to the quote form in one click.
Between 1 and 128
Between 0.5 and 120
Between 1 and 24
Between 1 and 365
Between 50 and 100
- Per hour
- 9,415parts
- Per day
- 207,138parts
- Per month
- 5,178,461parts
- Per year
- 62,141,538parts
Formula: cavities × 3600 ÷ cycle time × efficiency = parts per hour; monthly = yearly ÷ 12.
Estimate only; mould changes, downtime and scrap are covered by the efficiency rate.
Get a quote for this capacityThe robot series for your capacity
80–700 t machines, 1–16 cavities; SE-Twin for stack moulds
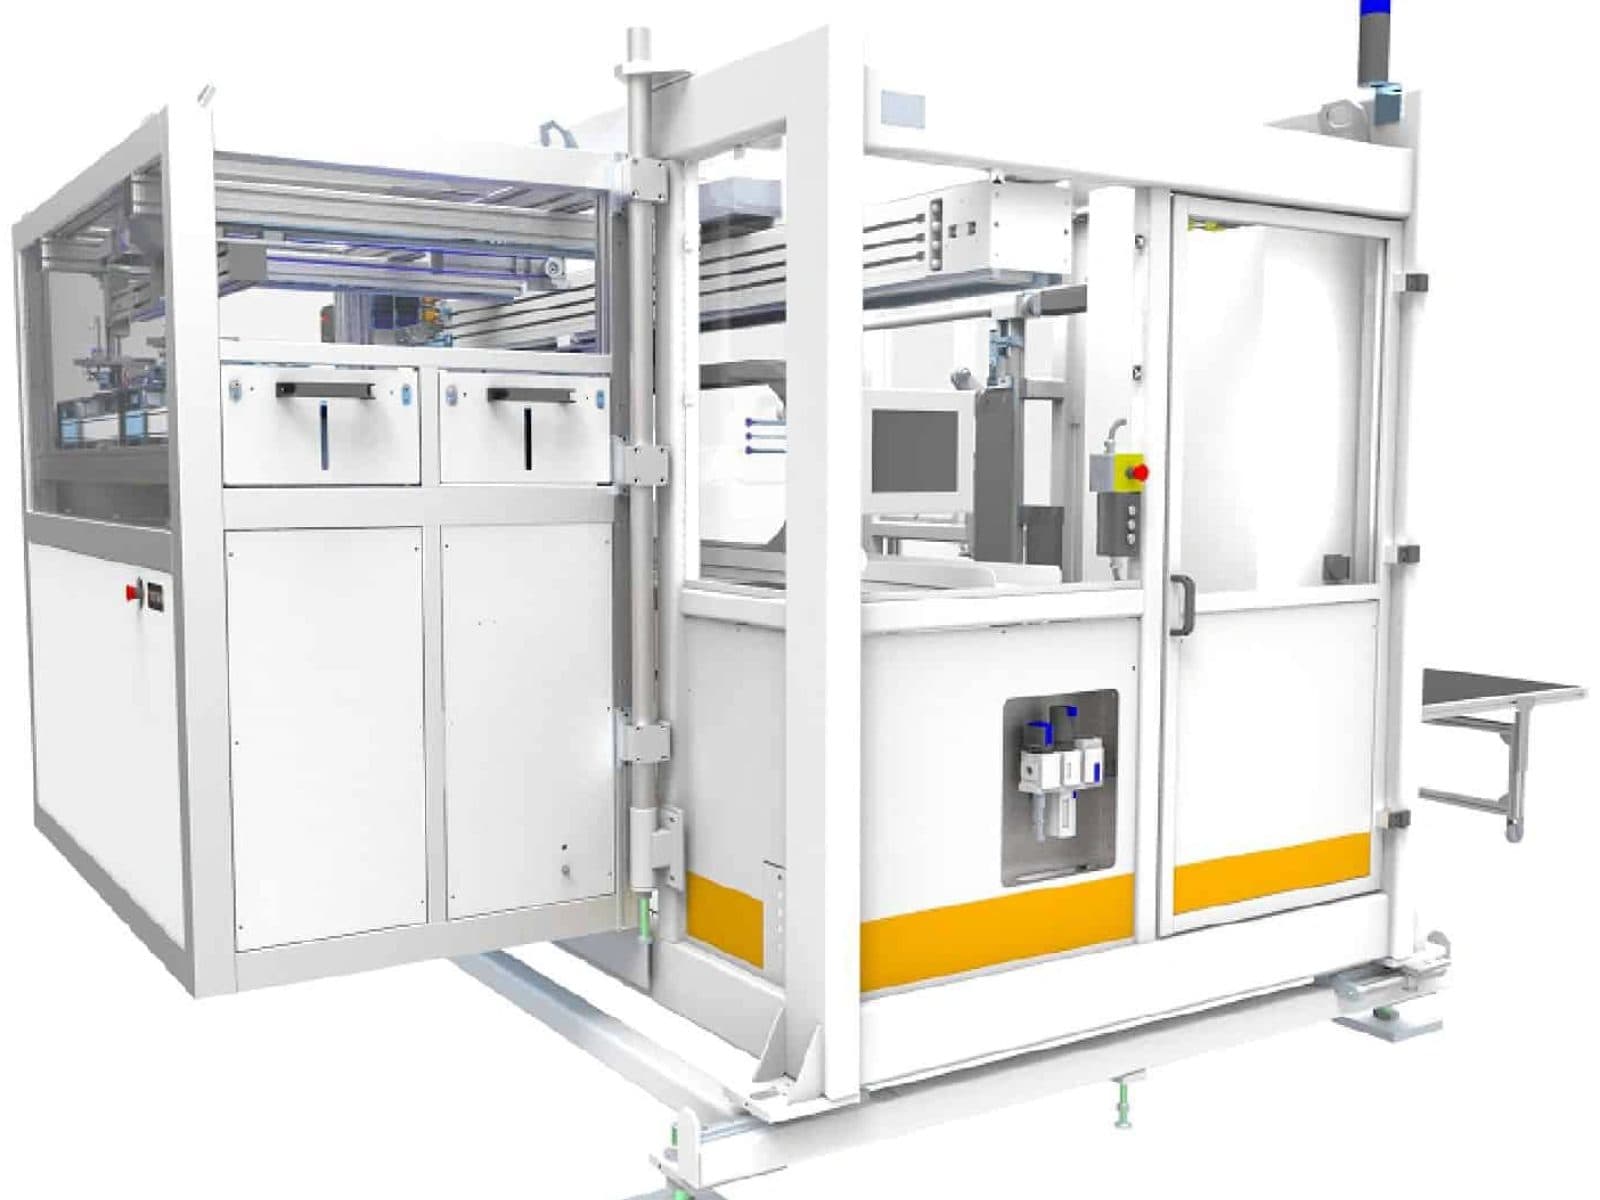 NewSE-Compact
SE-Compact Side-Entry IML Robot
Entry-level IML for small containers and lids: 1–4 cavities on 80–160 t machines.
- 2.6sDry cycle
- 1.0sIntervention
- 1–4Cavities
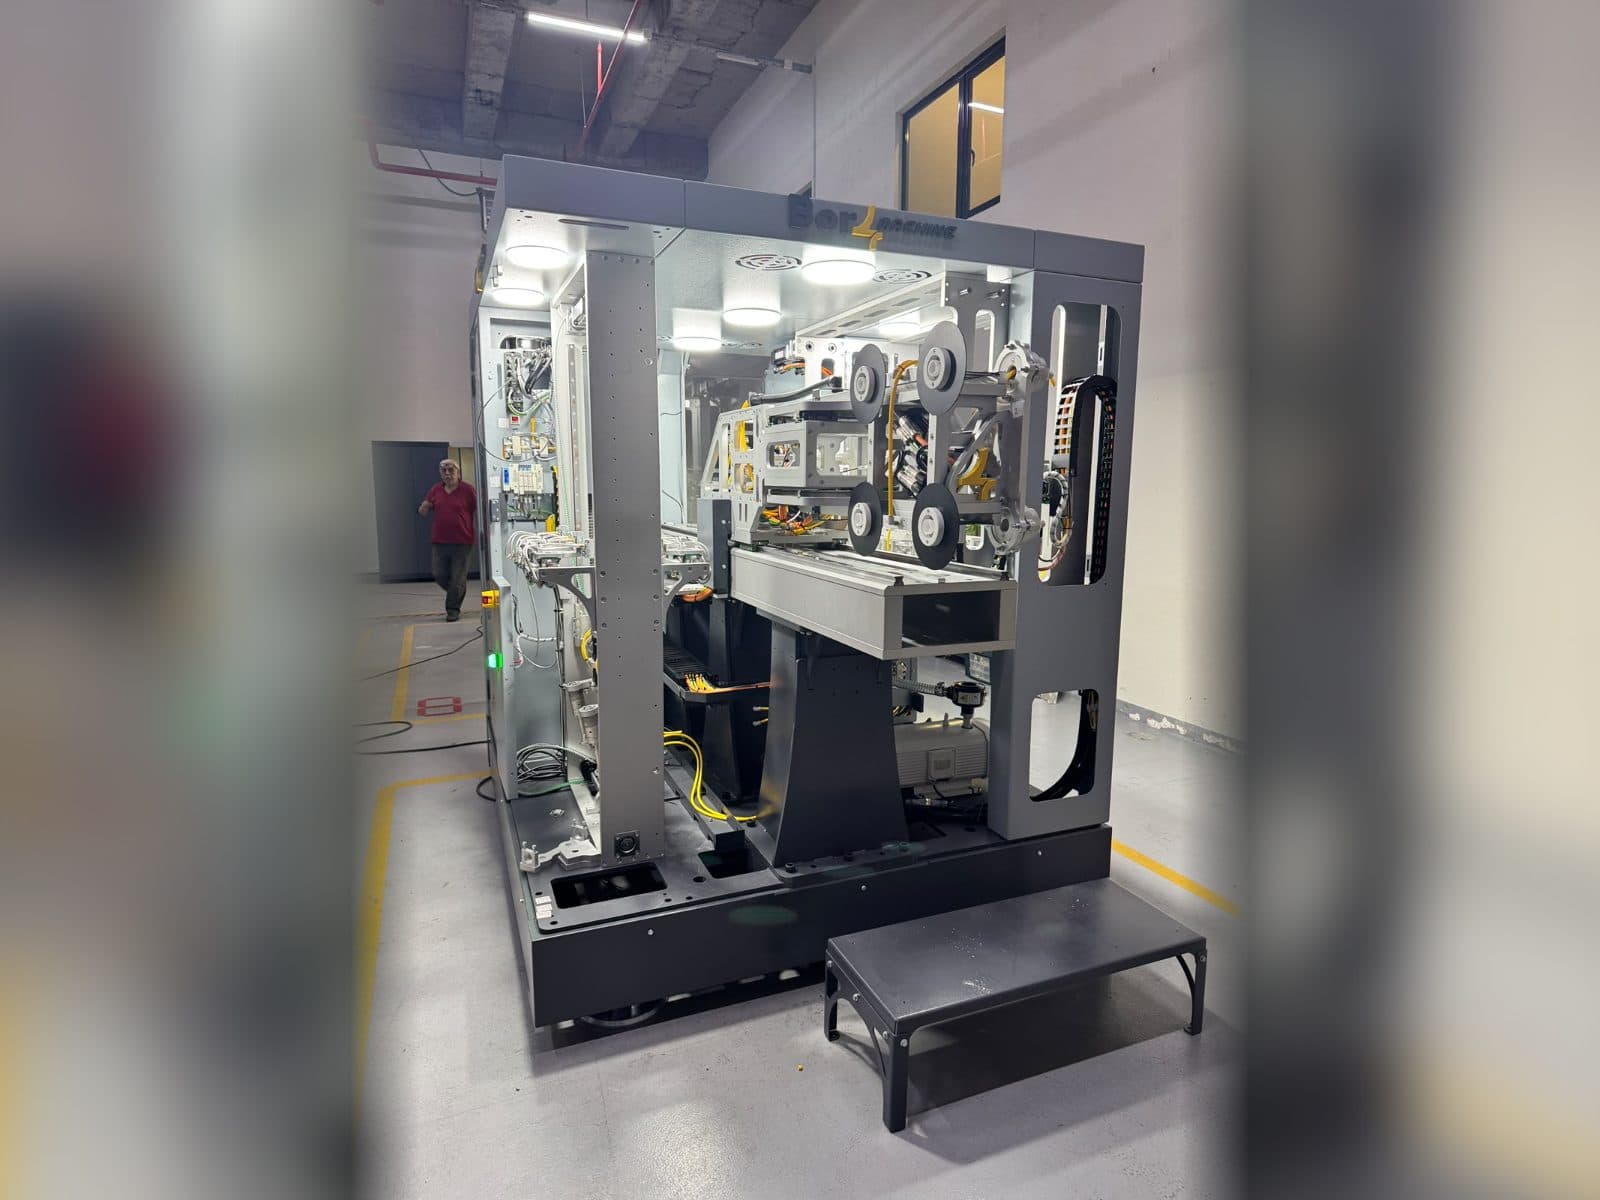 SE-250
SE-250 Side-Entry IML Robot
The standard for yoghurt and margarine tubs: 2–8 cavities on 150–300 t machines, 2.4 s dry cycle.
- 2.4sDry cycle
- 0.9sIntervention
- 2–8Cavities
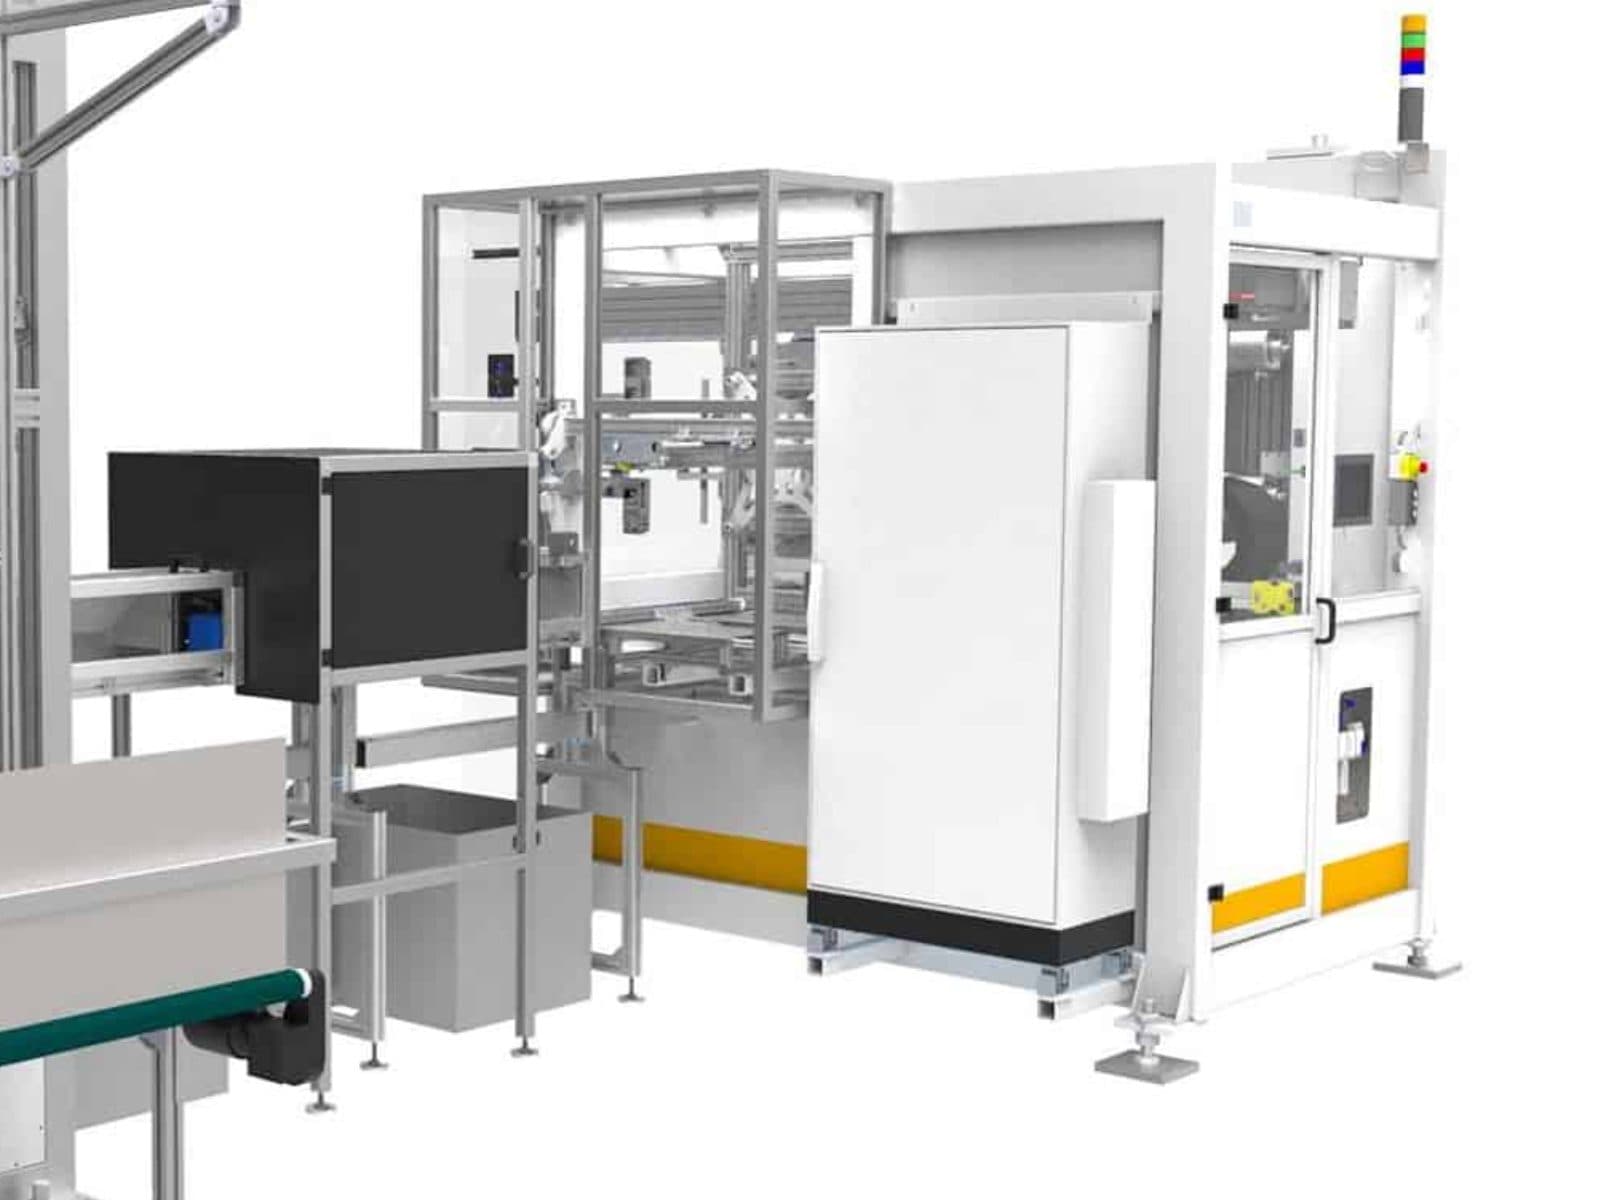 SE-450
SE-450 Side-Entry IML Robot
The workhorse of high-cavity lines: 4–16 cavities on 300–500 t machines, 2.2 s dry cycle, double stacking.
- 2.2sDry cycle
- 0.8sIntervention
- 4–16Cavities
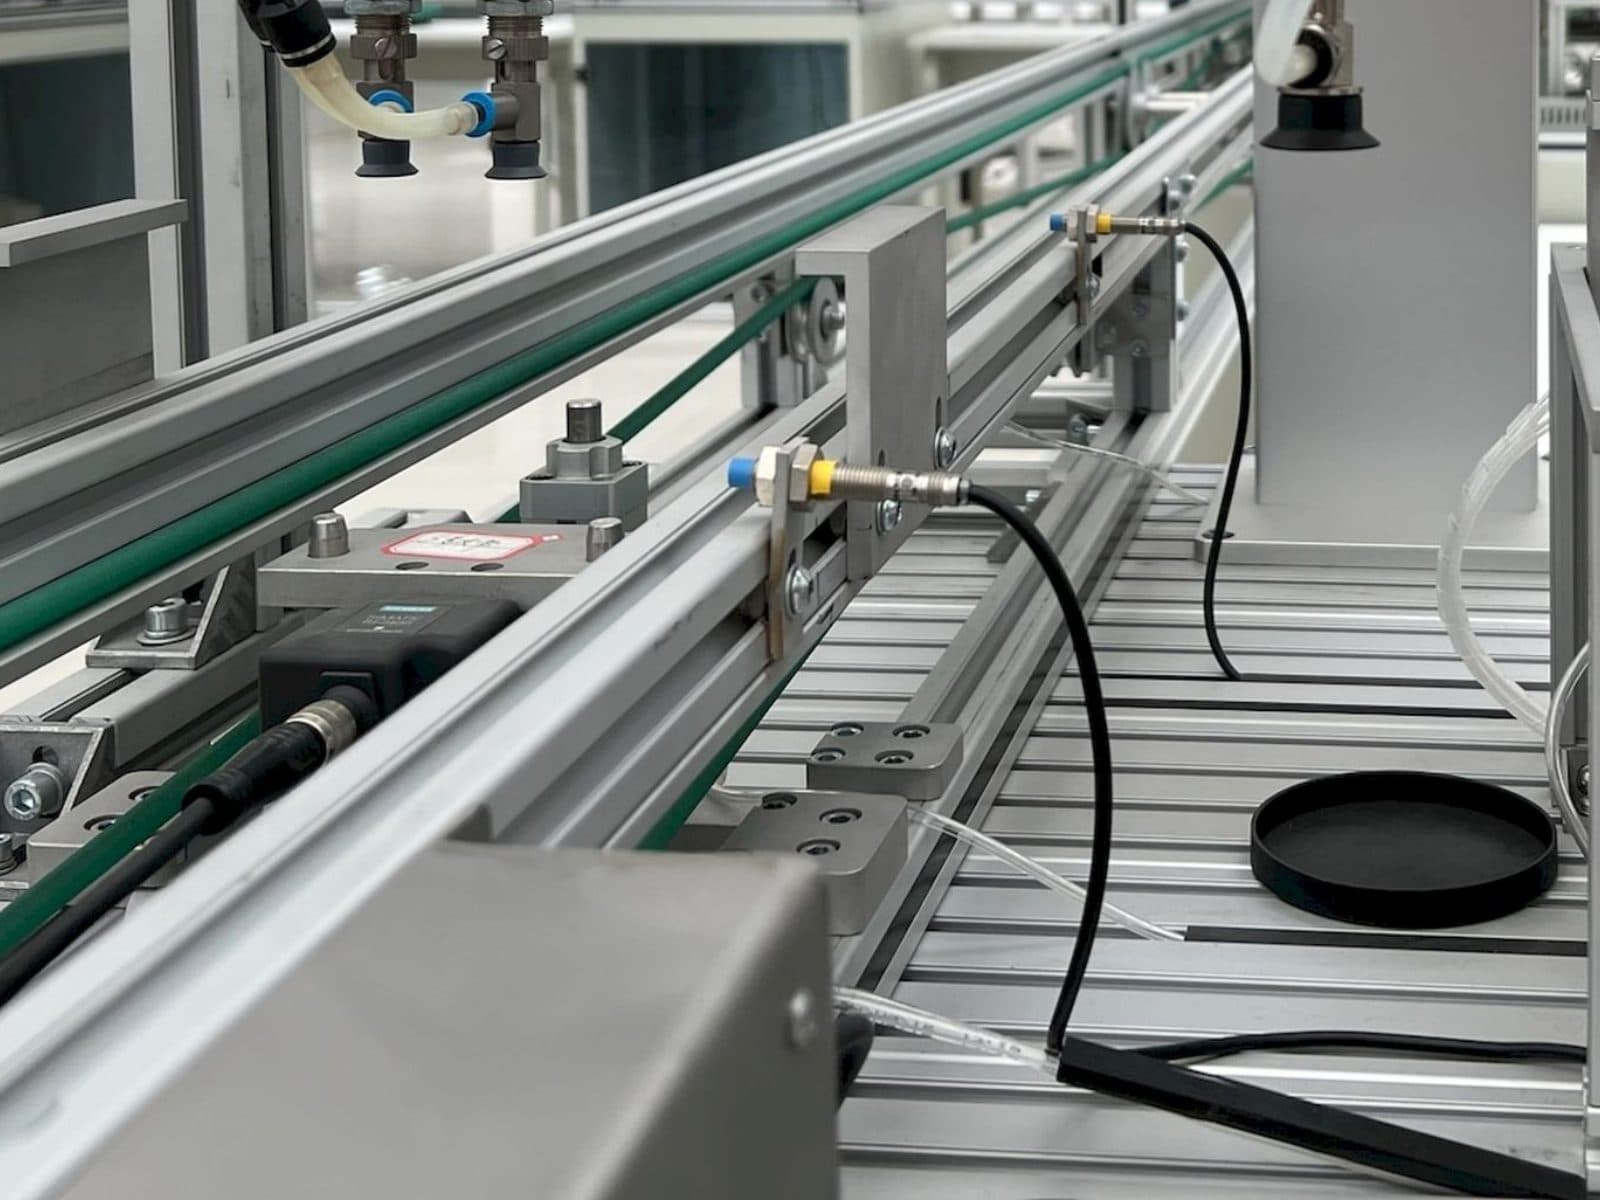 SE-650
SE-650 Side-Entry IML Robot
For pails and large containers: 2–16 cavities on 450–700 t machines, 30 kg payload, handle assembly integration.
- 3.0sDry cycle
- 1.1sIntervention
- 2–16Cavities
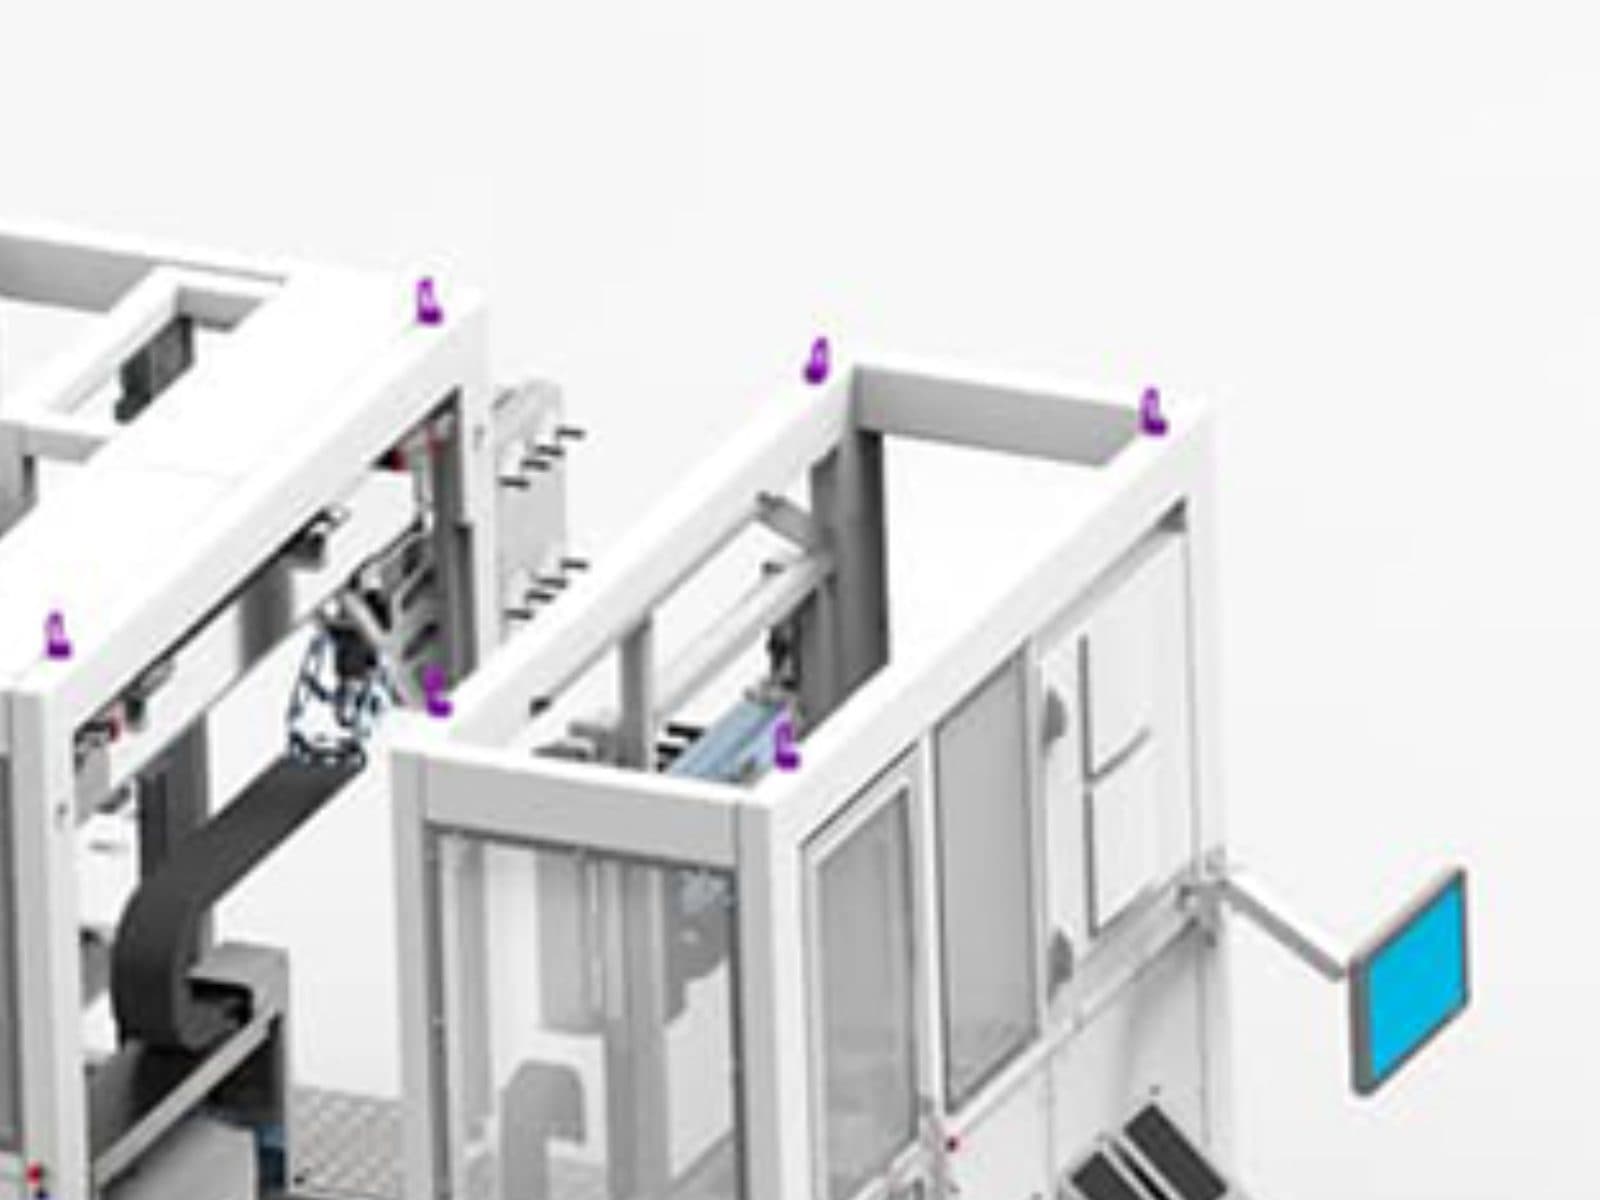 NewSE-Twin
SE-Twin Stack-Mould IML Robot
For stack moulds: 2×6 and 2×8 cavities, double-sided plate, both mould faces in a single entry.
- 2.6sDry cycle
- 1.0sIntervention
- 2×6 / 2×8Cavities
IML glossary
B
- Boxing / case packing
- Placing stacked parts into cases; connected to the robot via Euromap 17.
C
- Cavity
- The void in the mould forming one part; a multi-cavity mould yields several parts per cycle.
- Clamping force (tonnage)
- The force holding the mould closed against injection pressure; defines the machine class in robot selection.
- Commissioning
- Bringing the robot into production through installation, connection, fine tuning and training.
- Conveyor
- The belt carrying parts from the robot release position to the stacking or inspection station.
Related product: DS-Conveyor Outfeed Conveyor
- Core / mandrel (dummy)
- The core on the EOAT carrying the label wrapped to the cavity shape and releasing it into the mould.
Related product: DM-Set Dummy and Mandrel Set
- Cycle time
- Total duration of one mould close-open loop; includes robot intervention, cooling and injection.
D
- De-ionising
- Neutralising unwanted static charge on the part or label with an ionising bar.
- Dry cycle
- The cycle time the robot completes with its own motions alone, without mould or injection.
E
- Electrostatic charging
- Applying static charge to the back of the label so it holds to the mould wall.
Related product: ES-Charge Electrostatic Charging Unit
- End-of-arm tooling (EOAT)
- The product-specific plate at the end of the robot arm carrying label cores and part grippers.
Related product: VG-EOAT Vacuum Head
- Euromap 12
- The older 32-pin version of Euromap 67; used with a converter.
- Euromap 67
- The 50-pin standard signal interface between the injection machine and the robot.
F
- Factory / site acceptance test (FAT/SAT)
- Acceptance tests at the manufacturer's plant before delivery and on site after installation.
H
- Handle assembly
- Automatic in-line fitting of the pail handle.
Related product: HA-Handle Handle Assembly Unit
Frequently asked questions about IML
Was this guide helpful?
Describe your application; we get back within 48 hours with a preliminary quote and application analysis.
Your container, label and mould details are enough. You can also run a trial with your own mould at the İkitelli test centre.